Okay so I am not the best at posting on weekends....my husband is home, we try to go out and get things done, visit friends, family....excuses, excuses haha
I did post on Instagram...so I feel that counts in the #31days...right? :)
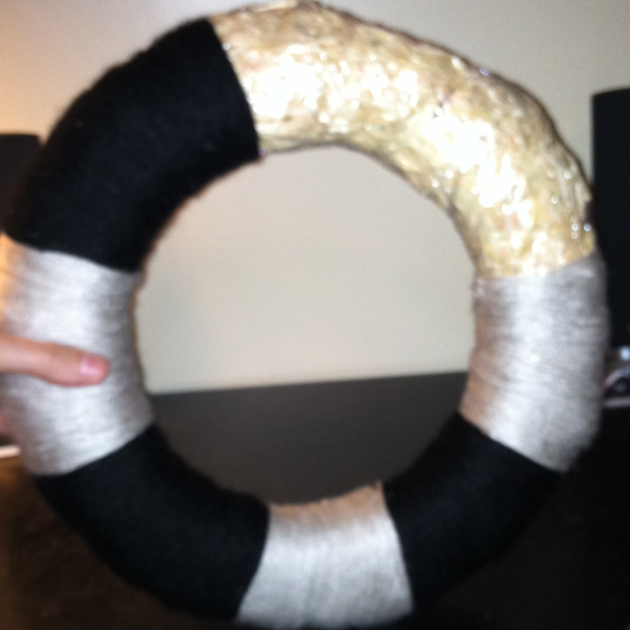
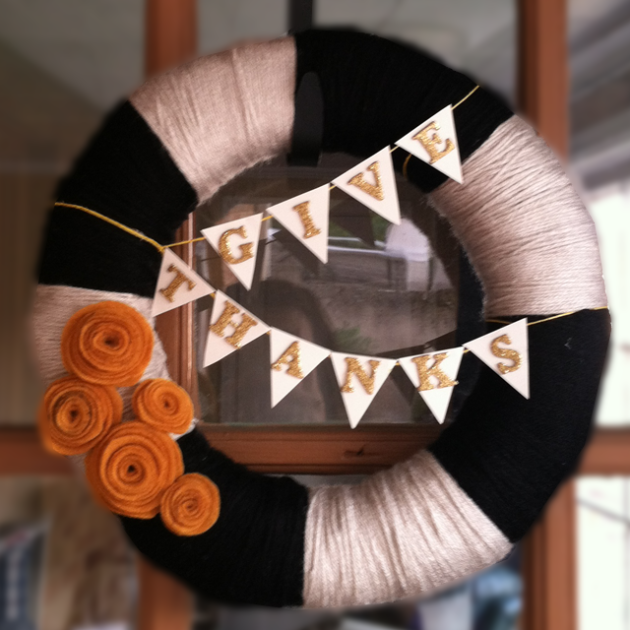
I posted this picture last night as a sneak peek to today's post.
This is my first DIY post...so forgive me- I didn't take all the pictures I should have step by step. But I hope you get the general idea!
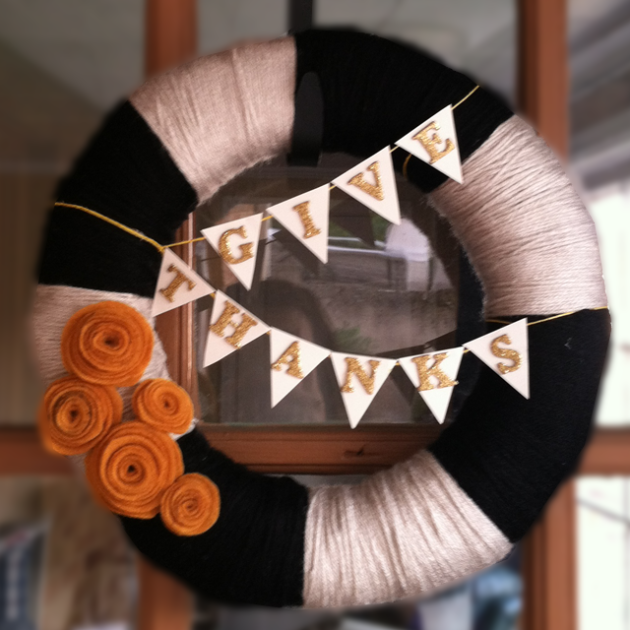
here is my fall/thanksgiving wreath >>>
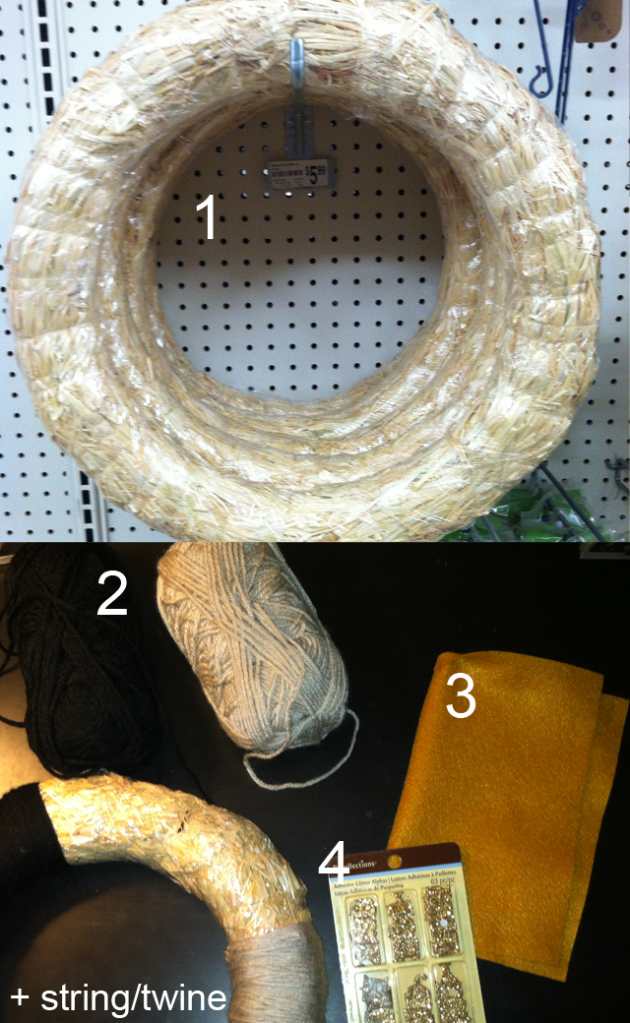
here are the supplies you will need:
1. I bought a straw wreath from Michaels, I have seen people cut & tape part of a pool noodle...so anything in a wreath shape will do
2. Yarn. I bought white & cream, you could buy just one color if you don't like/want the 2 different colors, or do red/white/green for Christmas, etc.
3. Felt. Any color you want for the flowers
4. Stick-on letters. These are what I used for the "banner"
+
you will need some sort of string/twine to string the banner on the wreath, and I used card-stock for the banner triangles.
First- since I was using 2 different colors, I took a ruler & sharpie and just drew lines where I wanted to colors to start and end, so they were relatively around the same length. Then you start wrapping!! This took me the longest- about 2 hours, so watch a movie or something while you are doing this part.
Once you are finished wrapping, next step are the felt flowers- I am sorry I forgot to take an image of how I did these...but I found a girl from mrspriss blog who did them the same was as I did! You can make as many flowers as you would like- I made 5.
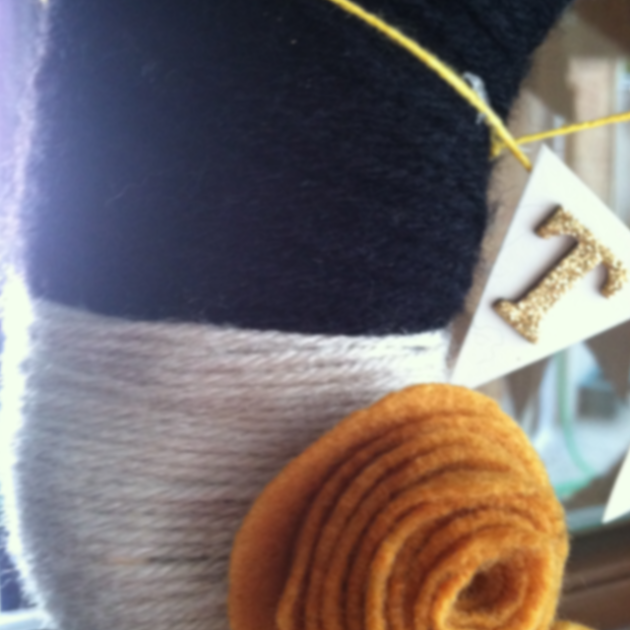
Next step is making the banner- I pressed the first letter on the card-stock and from there drew a triangle around the letter so it fit correctly. I then cut out the rest of the triangles + pressed on the letters, once all were done I took the twine and a hot glue gun and glued the letters onto the twine. Final step was tying the twine banner around the wreath how you would like- and here is your thanksgiving wreath!
[ps- I tied the banner around the wreath instead of just hot gluing it to the back, because that way you can just cut off the banner and your wreath can be used for another holiday or spring time wreath]
ta-da! If you have any questions let me know!
Happy crafting



Super cute! Love it. Is this the one you are teaching at RS? I think they would love it.
ReplyDeleteyes yes! Turned out better than I expected!
ReplyDelete[…] day 12-14 […]
ReplyDelete[…] Source Pin: http://furnituresteals.com/2013/10/14/introducing-fall-on-your-door/ […]
ReplyDelete